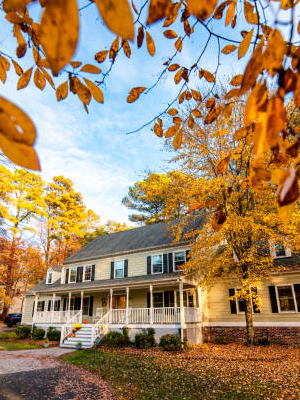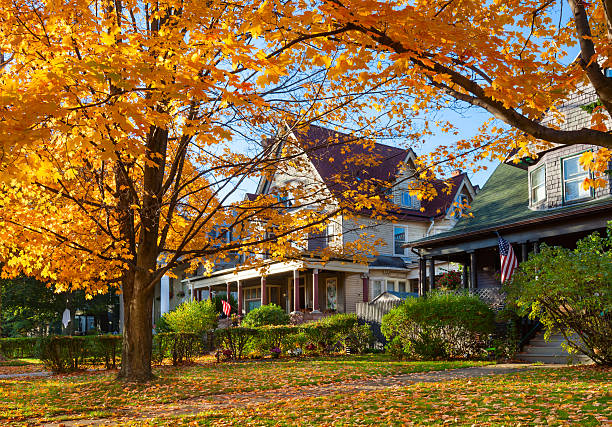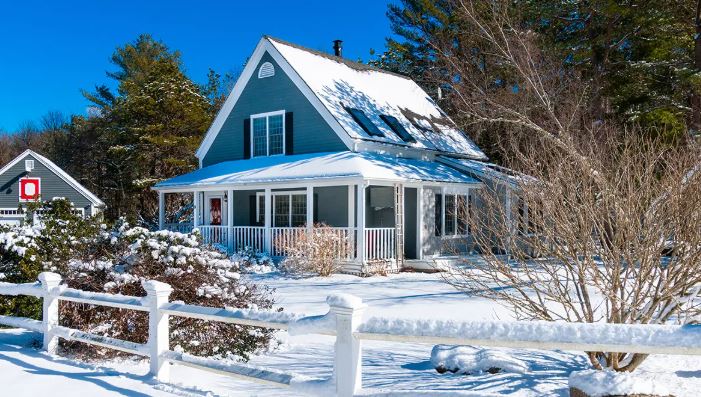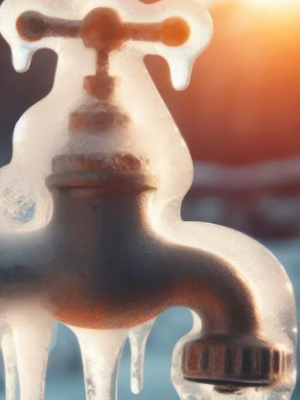
With winter around the corner, it’s important to prepare yourself for cold weather. These past couple of winters have been very cold! Although last year, we found ourselves having a semi-warm winter. But that doesn’t mean that you can be so easy going when it comes to warming your home. This also includes preventing Frozen Pipes. Now, while they aren’t very common, they do happen and can be detrimental. They can happen to anyone if the proper steps aren’t taken! While they can happen to anyone, they tend to happen in older homes more frequently.
Additionally, in homes that are mass produced where corners are often cut, it can happen more frequently as well. It could start off as something really simple, such as loose insulation and eventually lead into frozen pipes. So how exactly can you do this? Well don’t worry, I’ll be going over everything that you need to know here!
Are Frozen Pipes Dangerous?
When you first hear the term “Frozen Pipes”, you might not think much of them. You might think that they’re not as problematic at first. Which sometimes, that’s the case. Usually as long as you have water flowing through the pipes, then you’ll be fine. However, if you don’t have any water flowing through your pipes, then that’s where the problem starts. This can build up pressure in your pipes and when there’s nowhere for that pressure to go, this can cause your pipes to burst. Pipes bursting can lead to hundreds or thousands of dollars in damages.
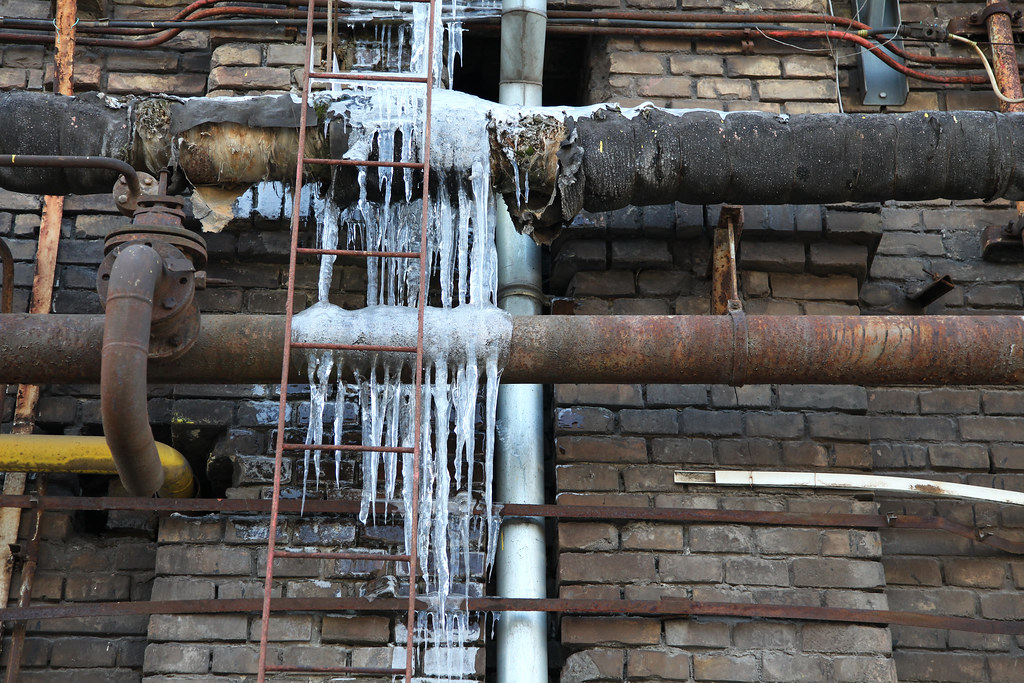
A blockage in your pipe is the most common cause of a frozen pipe bursting. This blockage creates intense pressure that has nowhere to go. This pressure will build up and expand in the pipe. This blockage is most of the time due to ice in your pipes. The pressure builds up until it has nowhere to go until BOOM, the pipe bursts.
Preventing Frozen Pipes
When preventing frozen pipes, it’s important that you avoid them at all costs! But you might be asking, how do you avoid them from happening? Well below, I’ve gathered a list of things to do to prevent this from happening!
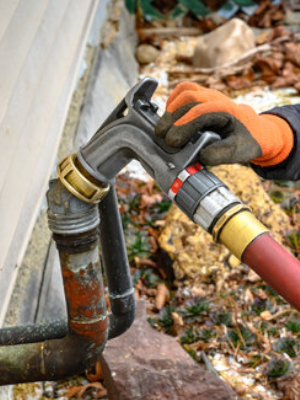
- Let Your Water Drip on Cold Nights: When water is running, it has a harder time freezing. During nights that are very cold, it’s good to try to slightly turn on the faucets to let water flow through your home. Even if it’s a little bit of water, it can help prevent your pipes from freezing and bursting.
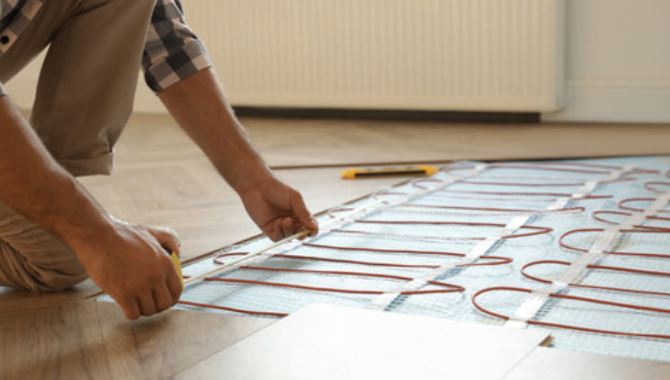
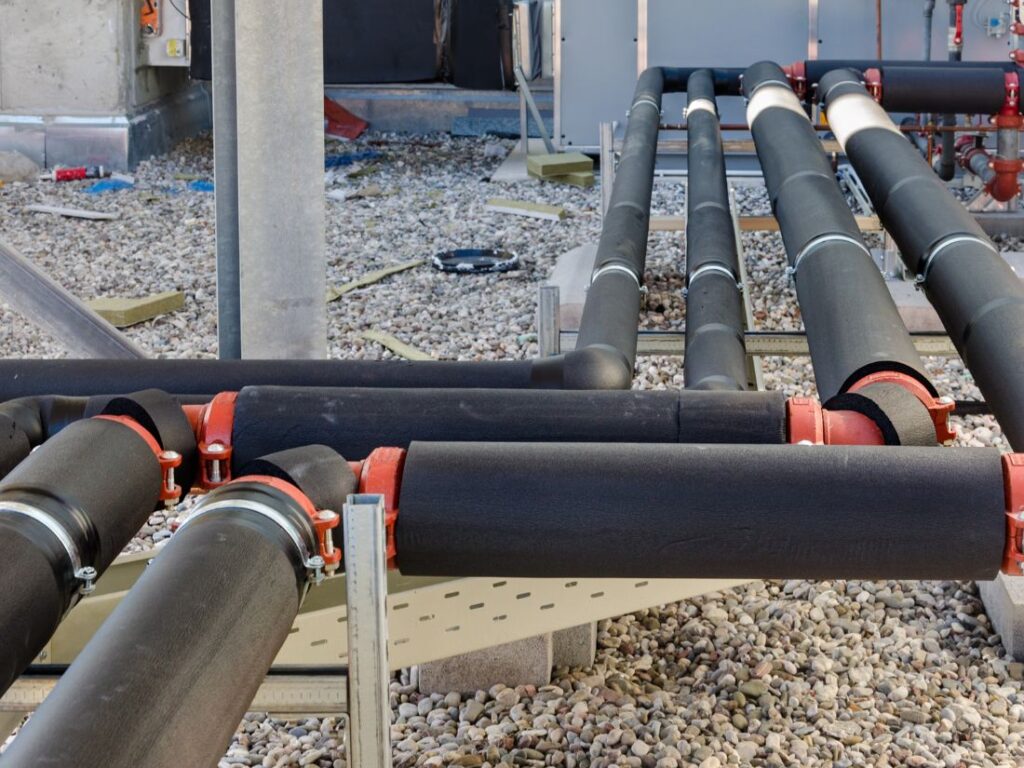
- Insulate Your Problem Pipes: In homes that are older, you’ll notice that some pipes are more prone to freezing than others. You can easily get around this by putting a little bit of foam insulation around those pipes. This will prevent these pipes from freezing and could end up saving you thousands of dollars. Not to mention that this solution is cheap and easy to implement!
- Leaving Your Cabinets Open: The Pipes throughout your house can freeze inside the cabinets of your bathroom and kitchen. This can happen even if the rooms in the house are warm. The closed doors of the cabinets prevents heat from getting inside the the cabinet and cools the pipe. This can result in your pipes freezing. On very cold nights, you should leave your cabinet doors open to allow heat to flow through ultimately warming the pipes.
- Increase the Heat: During really cold nights, some people will actually lower the heat to save money. DO NOT DO THIS! This can contribute to your pipes freezing! When it’s cold, you really should keep the heat hot. This will not only prevent your pipes from freezing, it also keeps you warm too!
- Space Heaters: Space Heaters are your best friend when it comes to heating your home. While they might not seem like, they help warm up your home much faster where it tends to get cold fast! In my house, we’ll have two space heaters upstairs and our fireplace going downstairs and the whole house is nice and toasty!
- Heating Tape and Heated Cable: Using cable or tape that’s heated is super helpful in preventing your pipes from freezing. This requires a little bit more upkeep because you’re going to have to remember to turn the tape on and off. You can use this if the above options don’t work out for you.
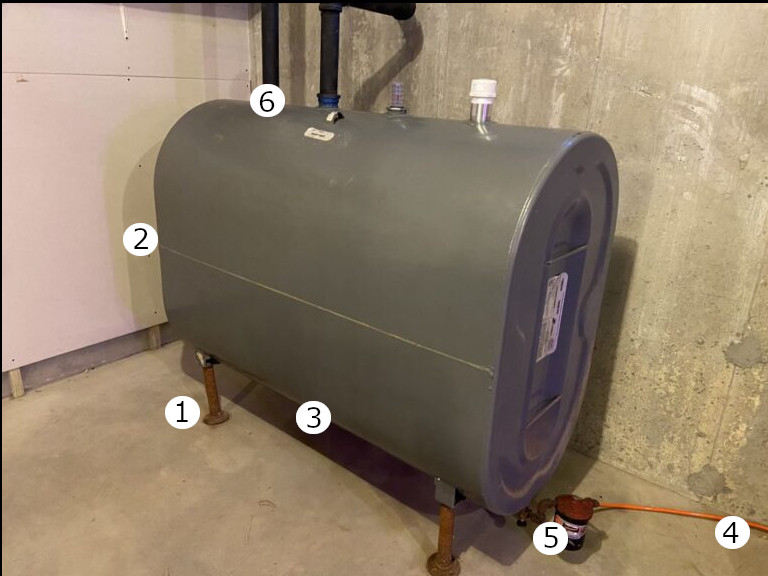
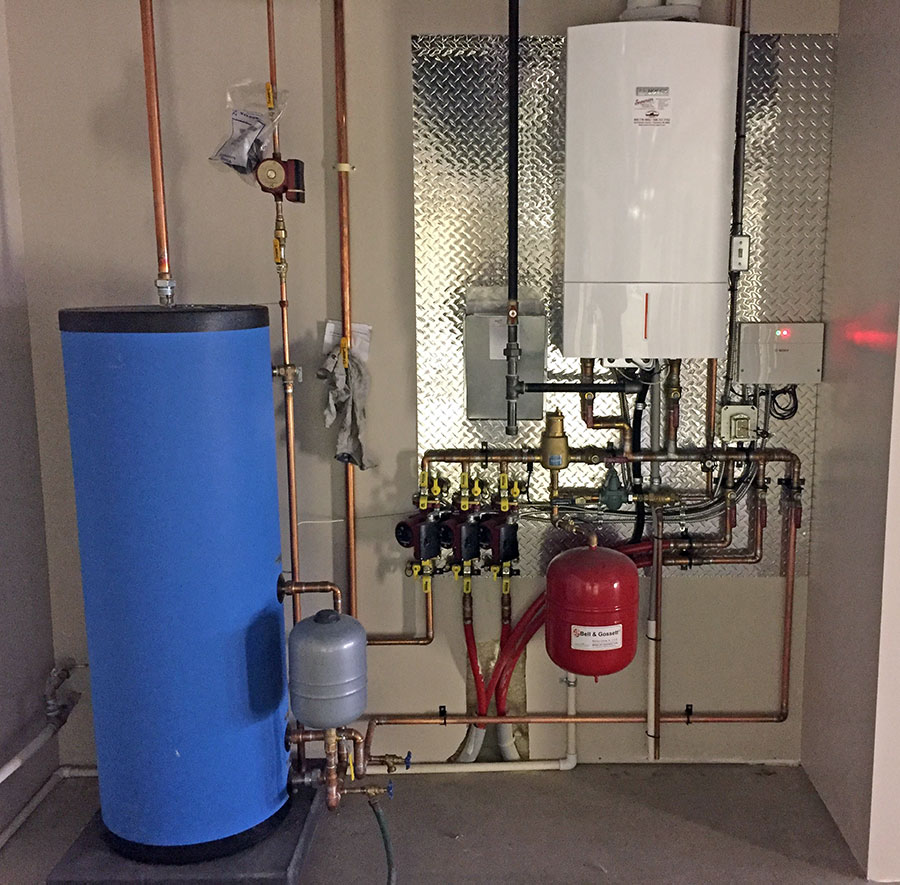
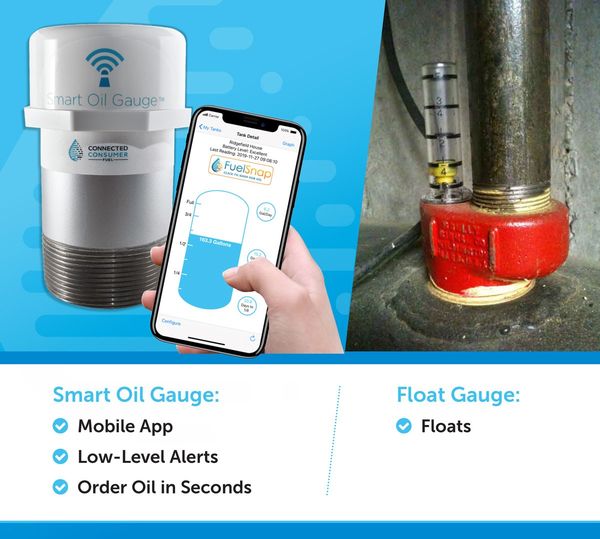
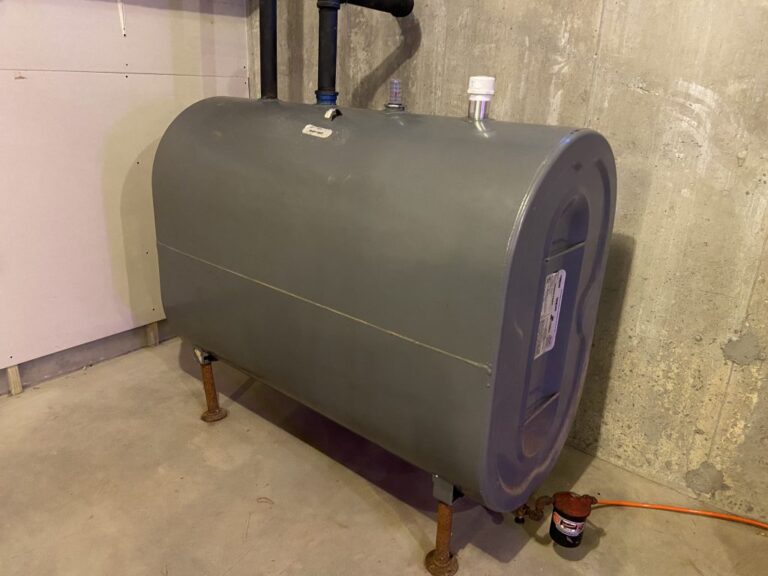
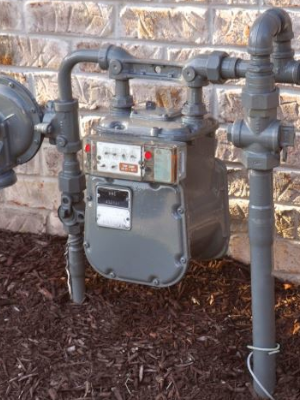
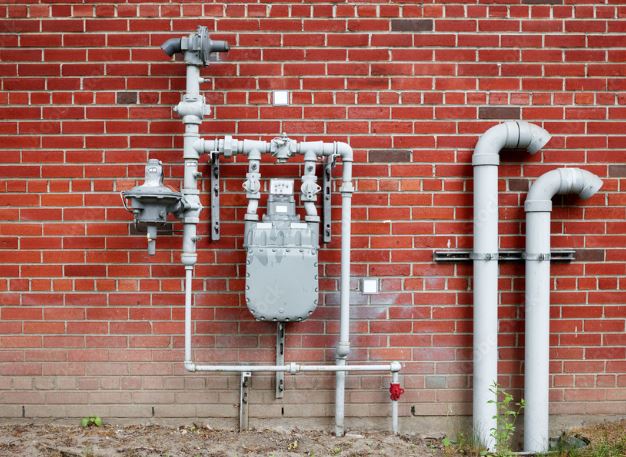
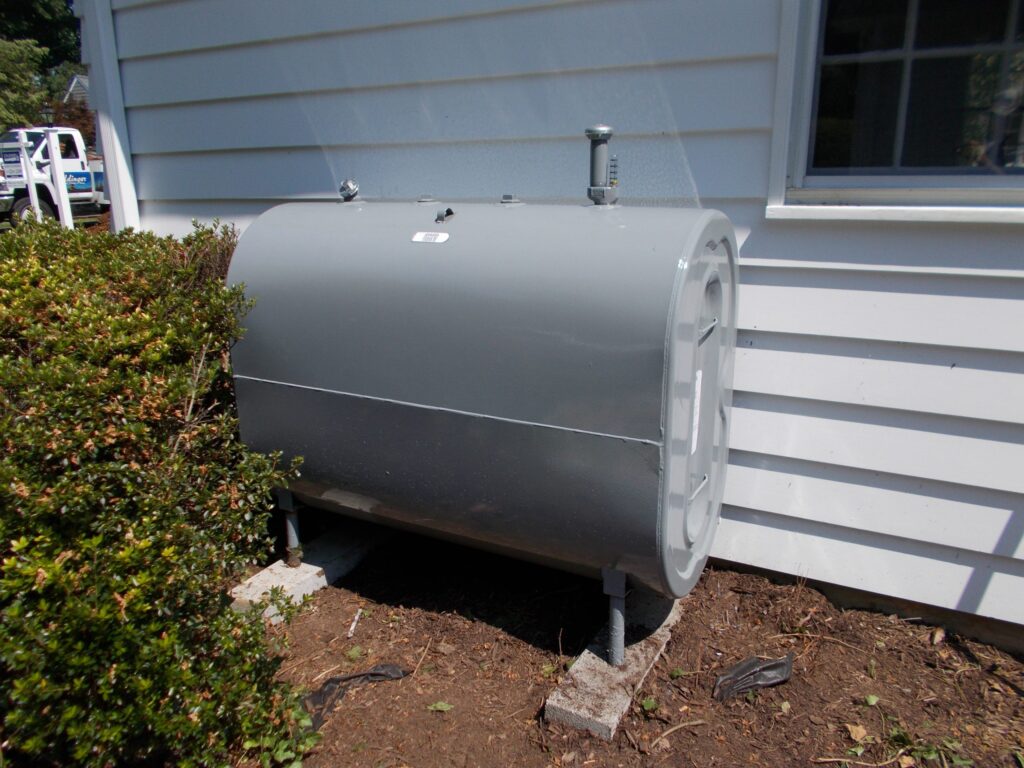
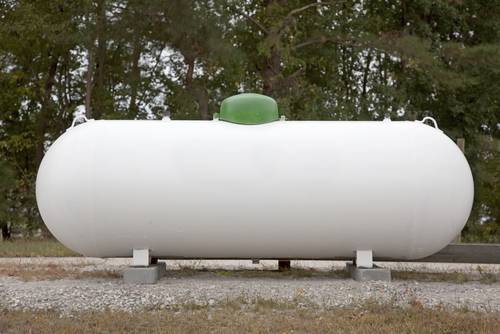
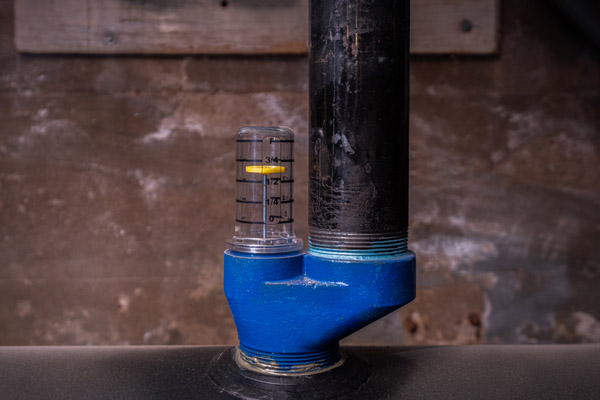
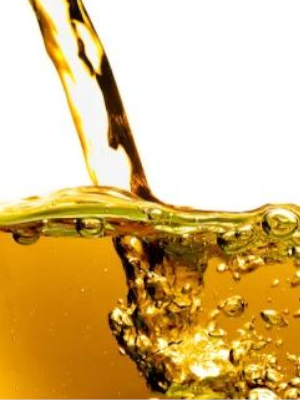
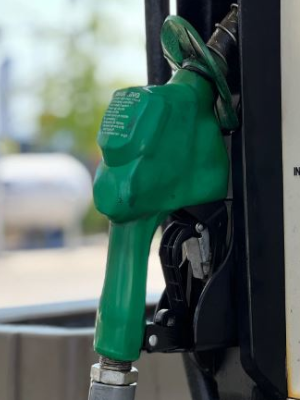
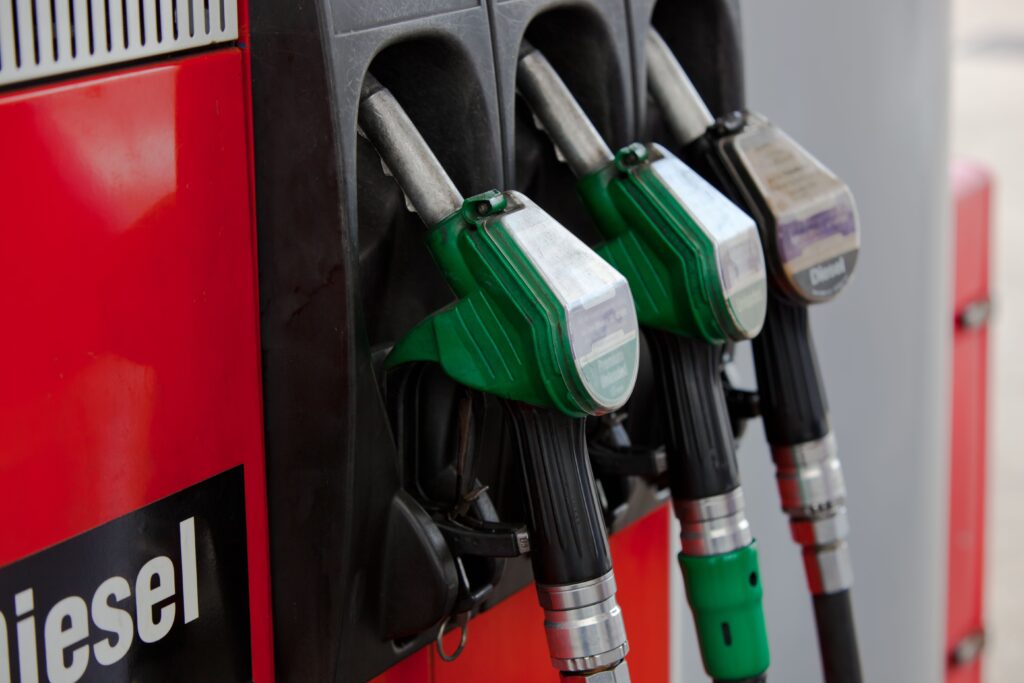
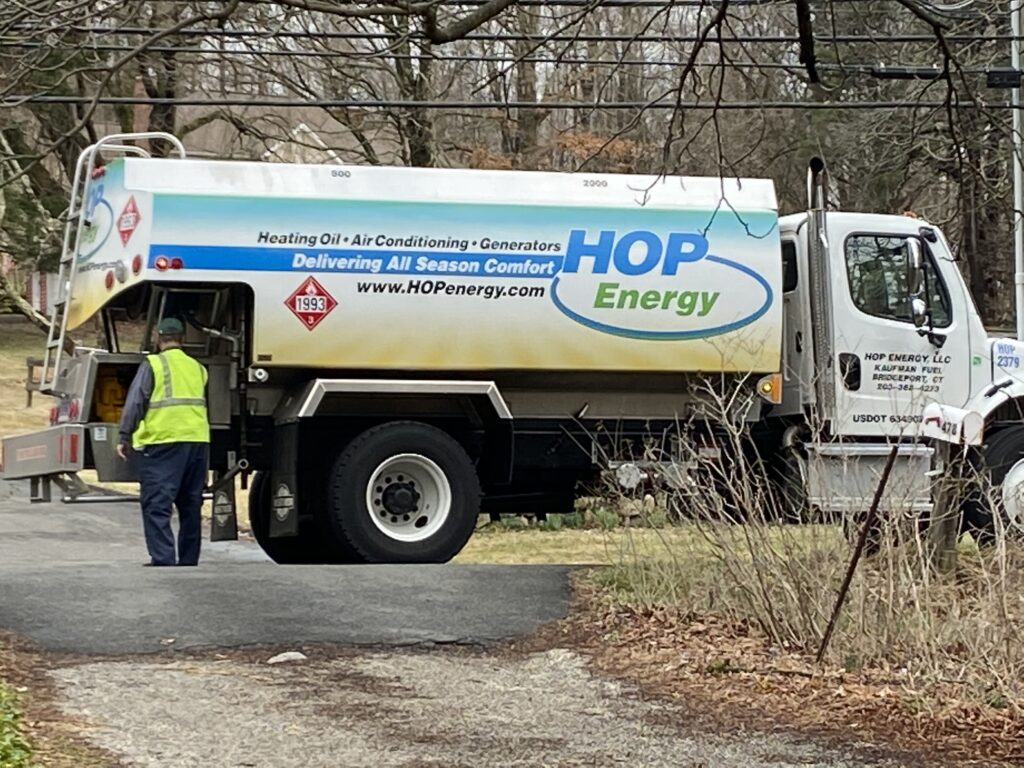
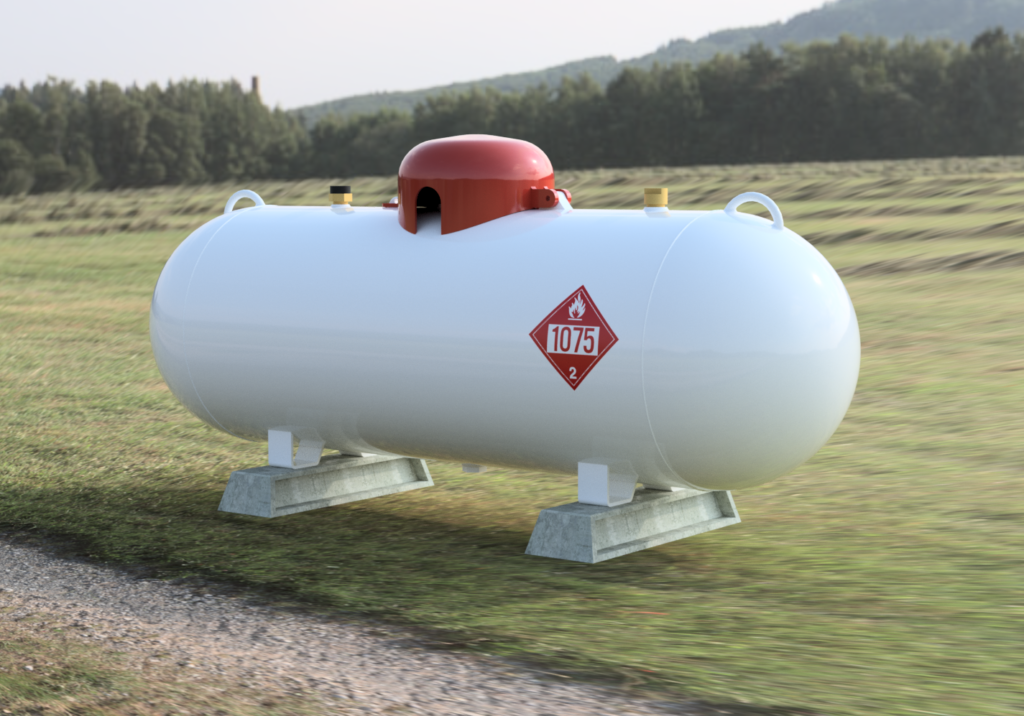
- Make Sure that You Have Enough Heating Oil: Running Out of Heating Oil means that you’ve got no heat. This can lead to your pipes freezing as it becomes extremely more likley that they will freeze. To prevent this from happening, I highly recommend ordering oil when you’re at a quarter of a tank. If you’ve run out of oil, then you’ll want to run to the gas station to get about 5-10 gallons of diesel. This should hold you over until your delivery arrives.
Stopping Your Pipes from Freezing
You should stop your pipes from freezing before they even get the chance to. Doing the above mentioned will prevent you from getting thousands of dollars in damages and save you a lot of headache. If the weather is forecasted to be cold, make sure you warm up your house beforehand. Make sure that the baseboards in your house are warm by touching them around your house. This normally means that water is flowing through your house and that your pipes are very unlikely to freeze.
By leaving your faucets dripping, cabinets open and insulating your pipes, you’ll have no issue with freezing pipes! But, if you notice that a pipe in your home is frozen or freezing, you should contact a plumber fast! It’s very important that you get it resolved as soon as you can and so that you can prevent damages to your home!
Happy Heating,
Hunter