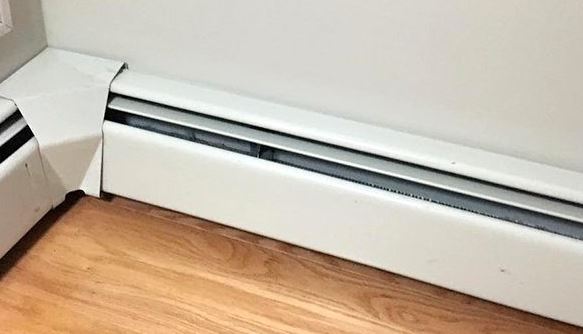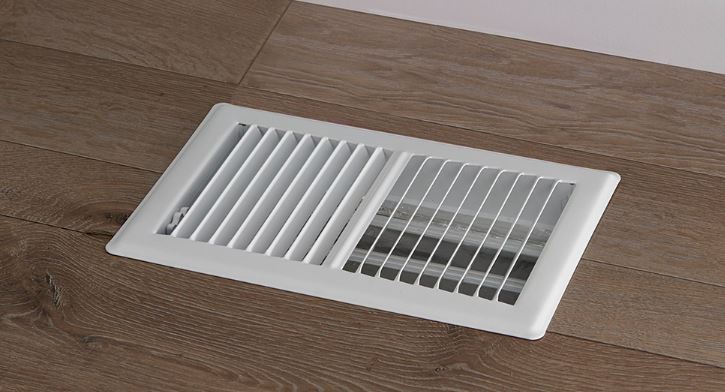
Petroleum-based fuels are very common nowadays, and we tend to rely on them to heat our homes. They also heat a variety of our automobiles and help the world go round with transportation. It can even power the appliances of some homes, such as furnaces or stoves! But if heating oil and kerosene have similar functions, what’s the difference, and which tends to be better for heating your home? In this article, I’ll go over exactly what the differences are and which one is better for your home!
What Exactly is Kerosene?
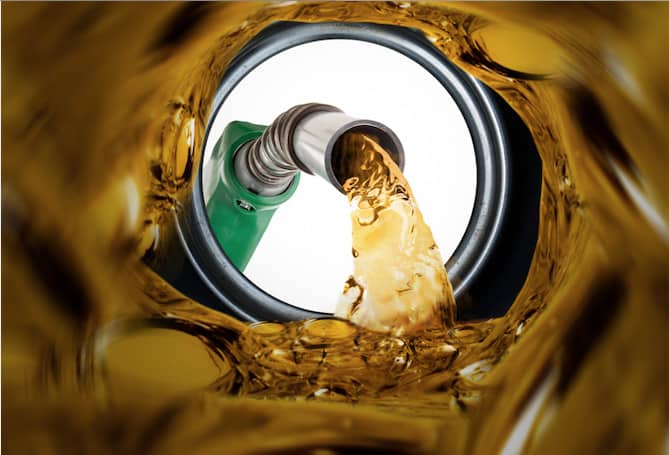
Kerosene is a form of hydrocarbon oil (a variety of organic mixtures made up of carbon and hydrogen atoms) with a large variety of uses. Typically, it’s most common uses now tend to be with cooking, heating, and use in jet fuel. However, in the 1800s, it was often used for lighting lamps, which is what kerosene became known for.

Similarly to heating oil, kerosene has a distinct smell. It’s normally either a clear or yellowish fluid. It also actually tends to burn more efficiently and often cleaner than heating oil does. But you can’t use it in just any heating system. If you wish to use kerosene as a long-term heating solution, then you must do it in a specially designed system.
What Are the Differences Between Heating Oil and Kerosene?
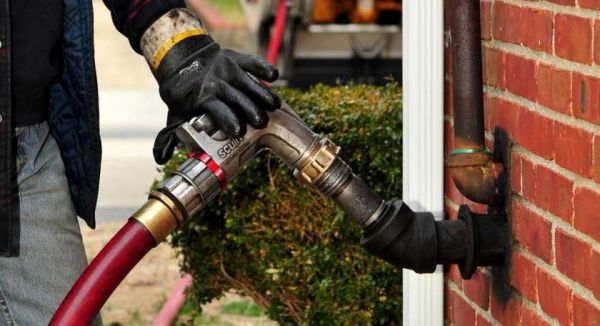
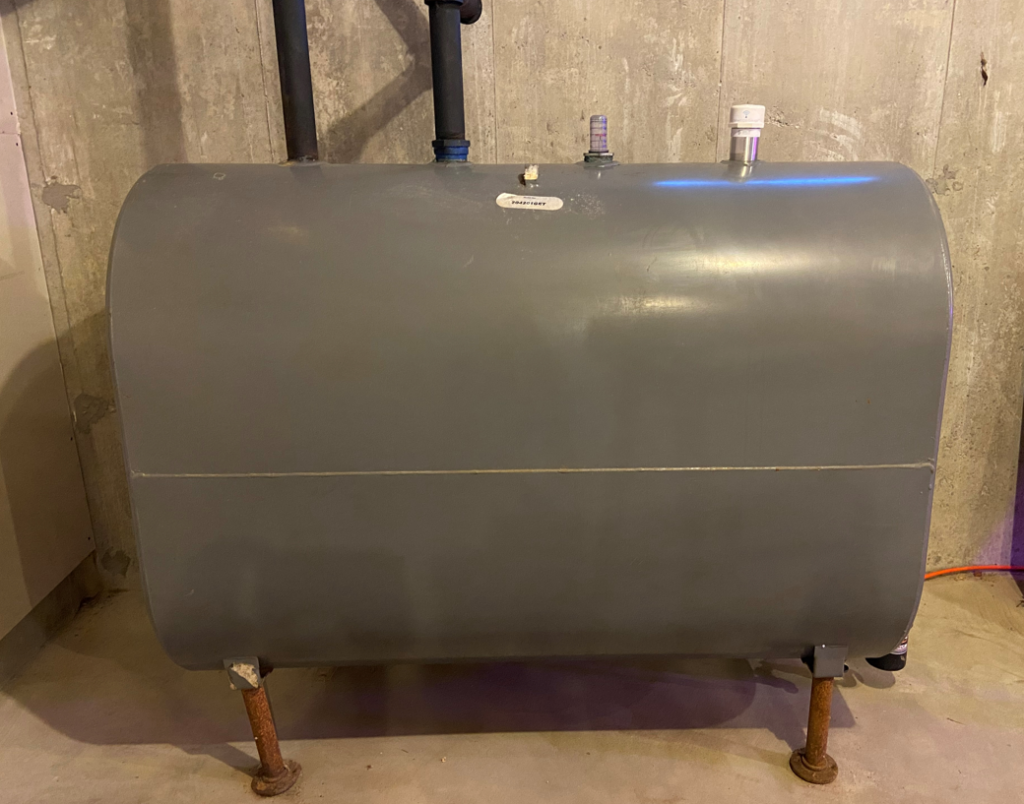
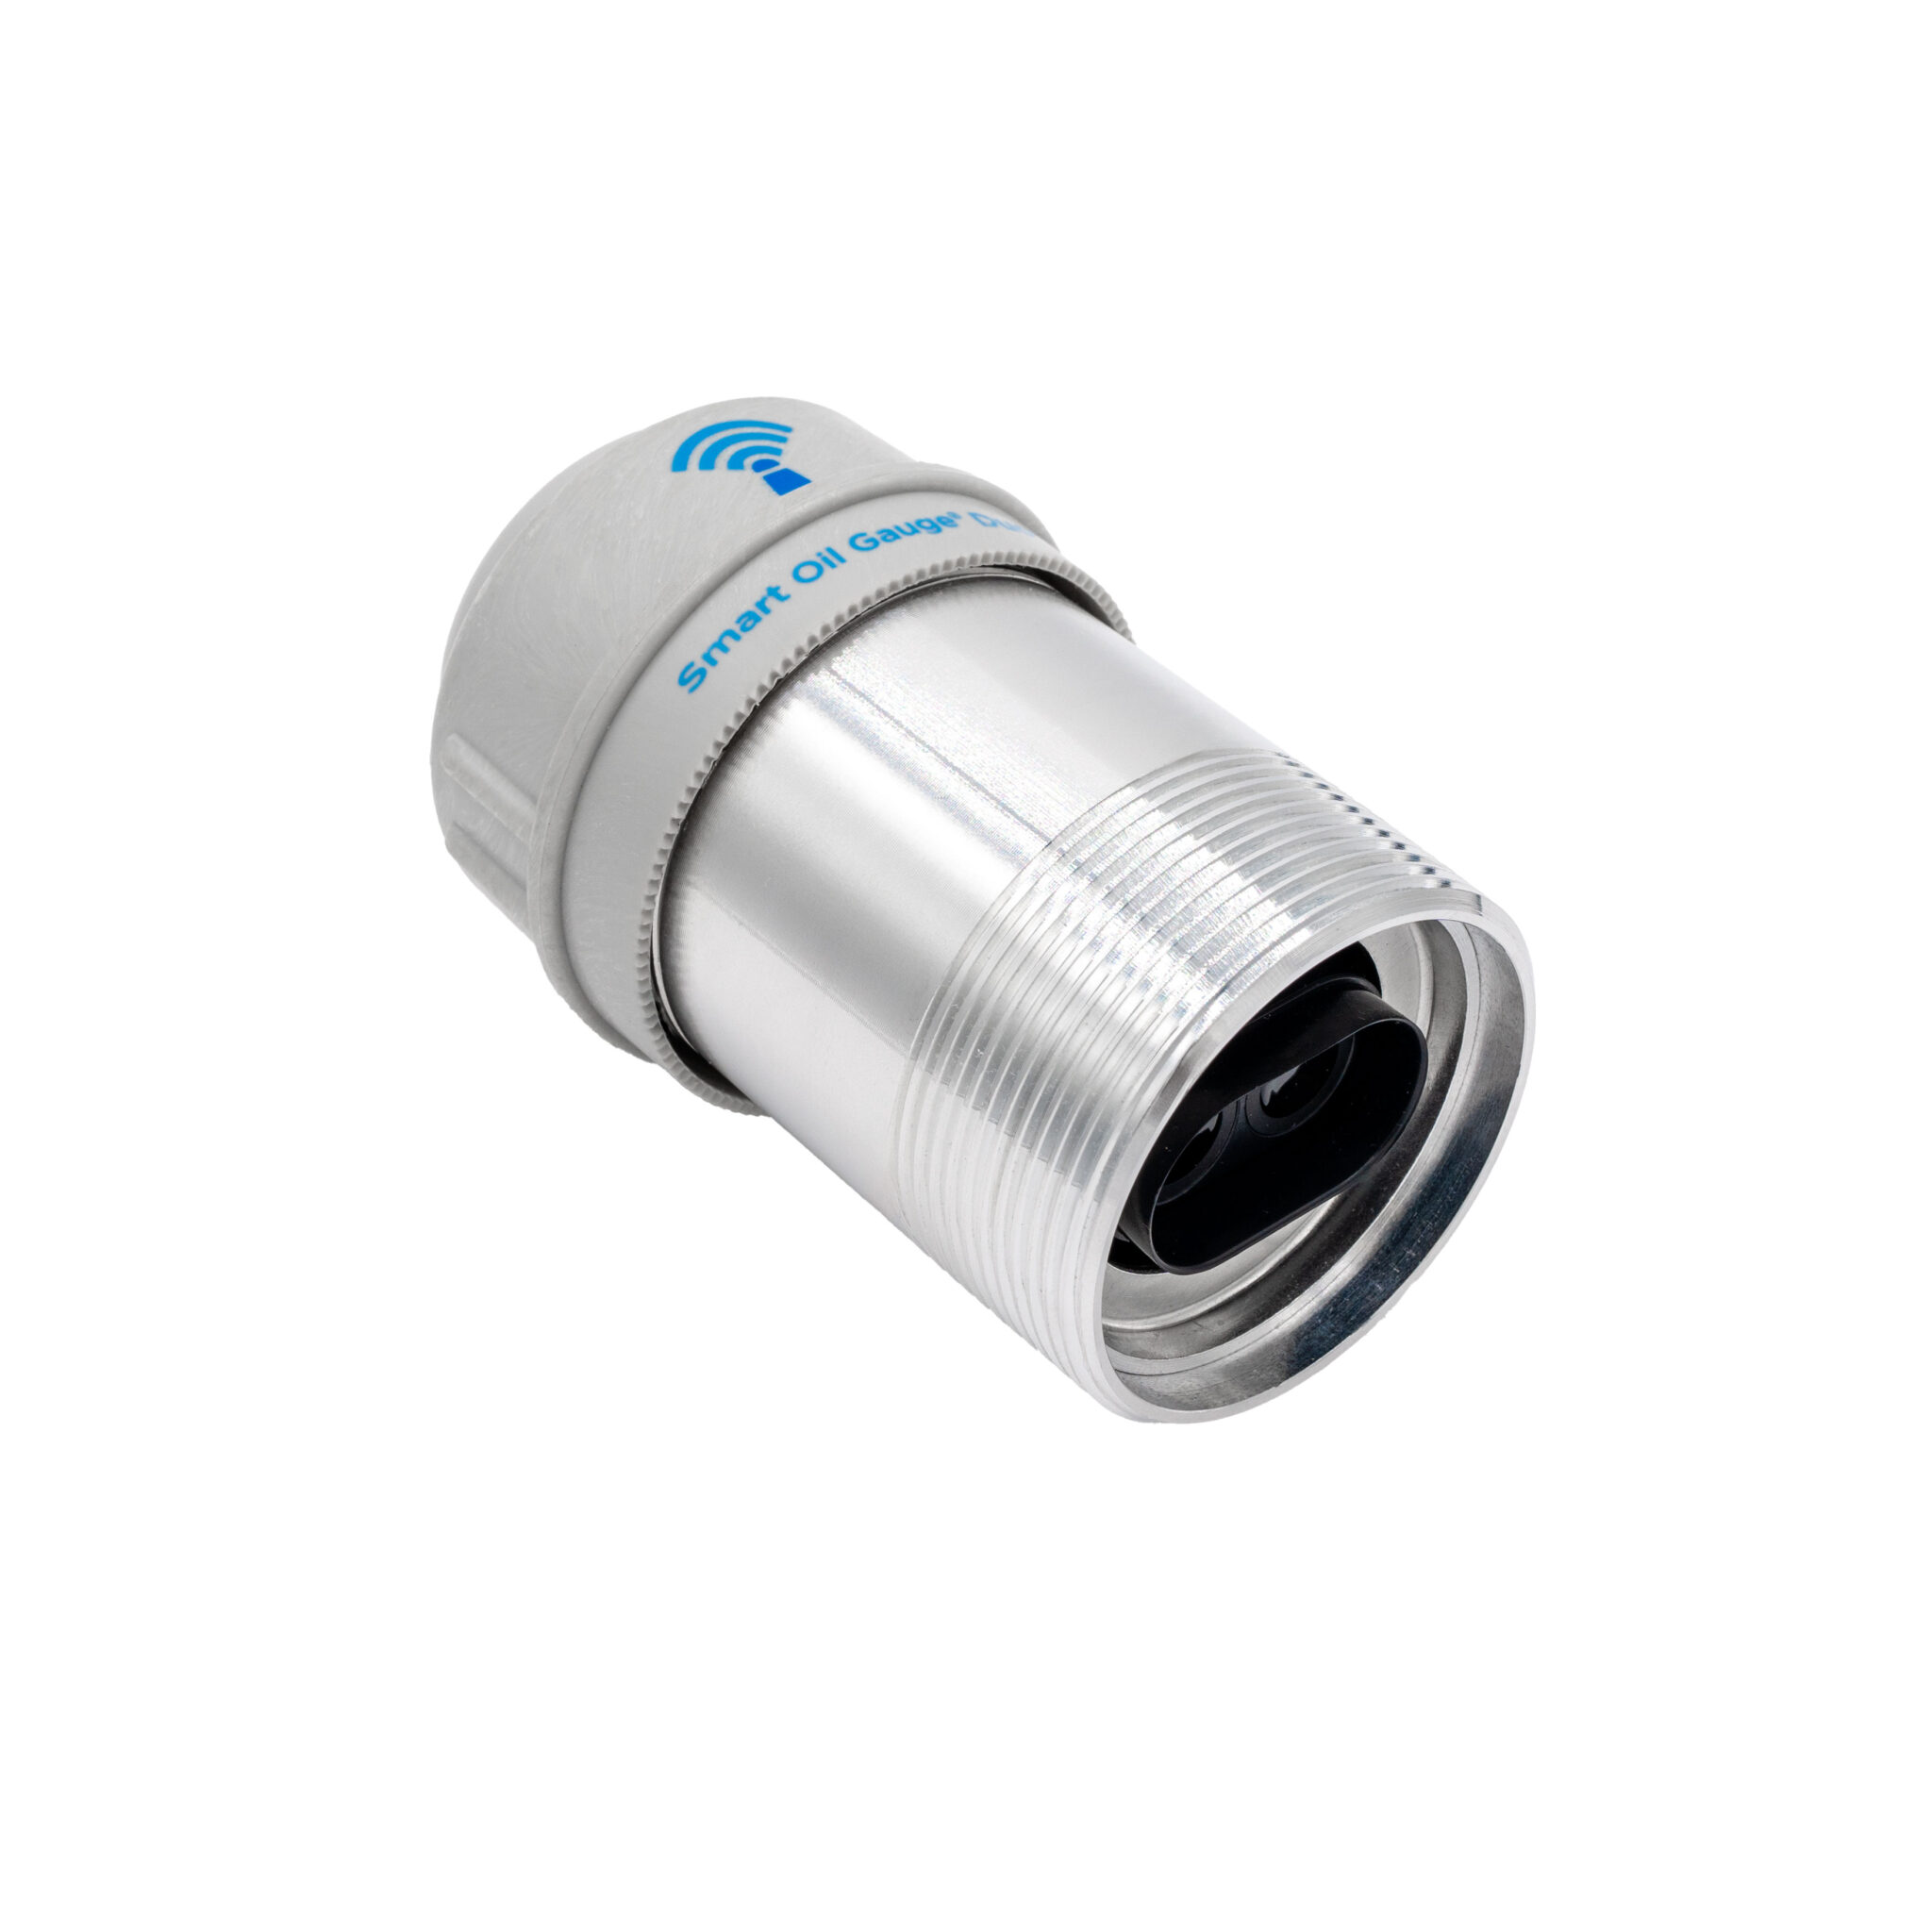
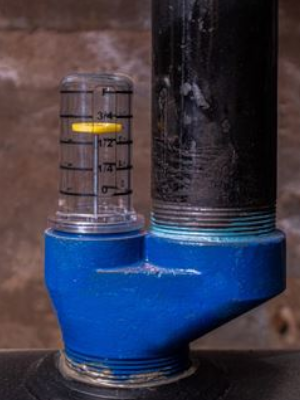
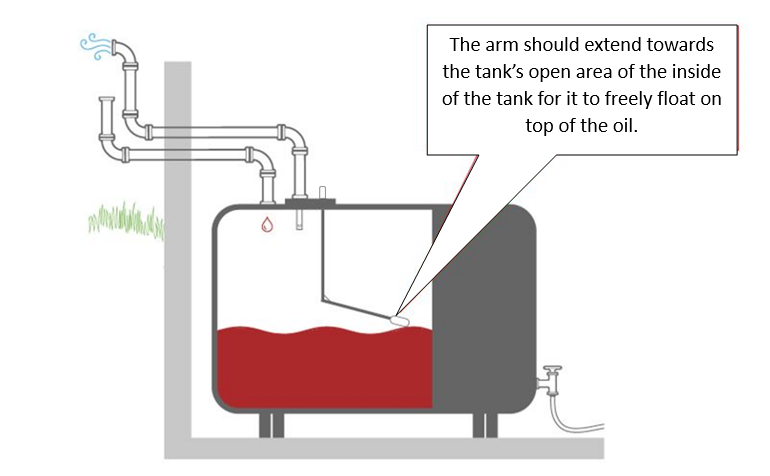
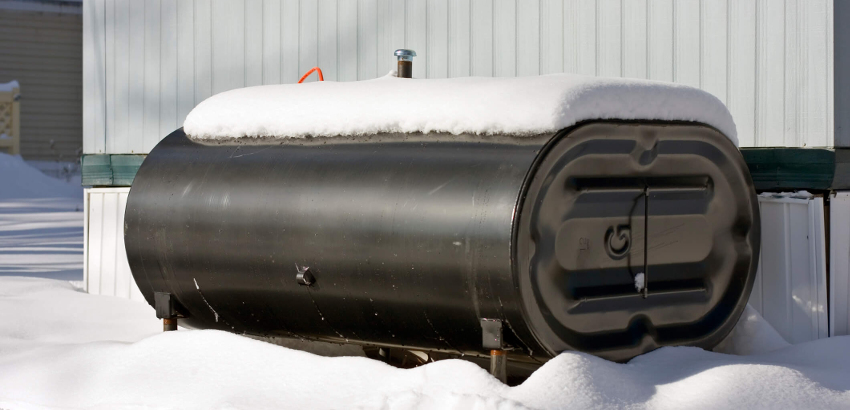
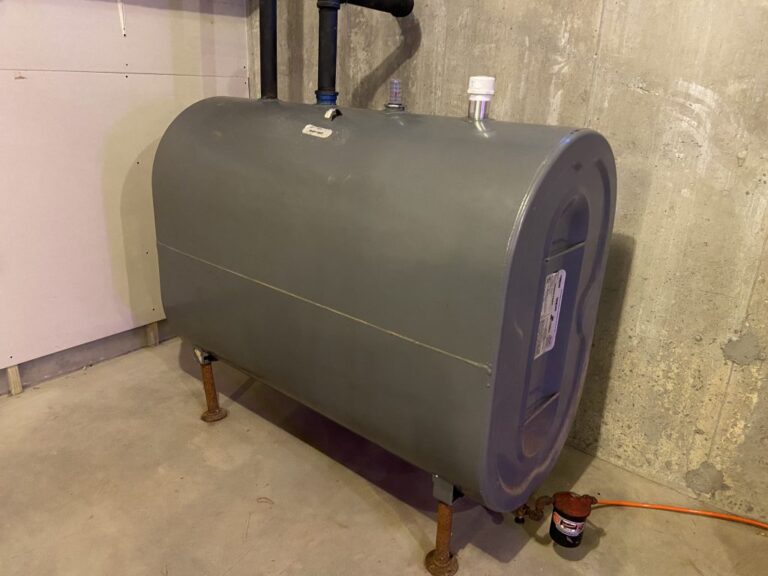
Heating Oil is a form of crude oil that is most commonly used as a way to heat your home. This is due to it being incredibly safe and reliable! Getting into the specifics, heating oil will never get to the point of starting a fire in its liquid state. Heating Oil needs to be atomized first. This is the process of converting it from a liquid to a gaseous state. It’s flashpoint is also 140 degrees Fahrenheit. So this means while in it’s oil form it will not ignite and cannot produce heat! The nice thing about that is it makes the risk of fire or explosion non-existent!
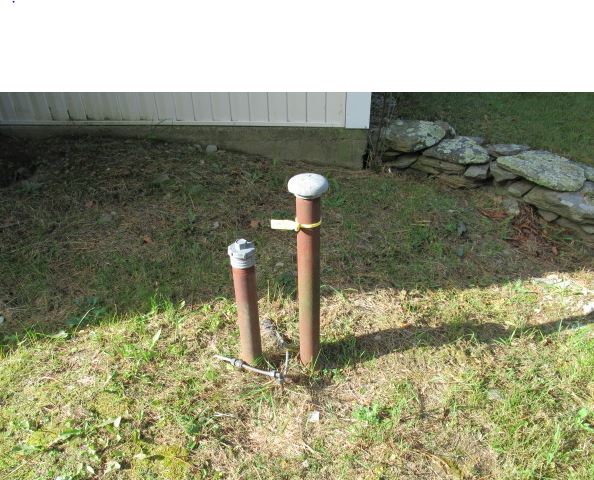
However, kerosene is not as safe as heating oil tends to be. Unlike heating oil, it’s flash point is much lower. This can make it susceptible to fire or exploding. Additionally, during the burning process, kerosene produces carbon monoxide. So when burning kerosene, you must have proper ventilation or it can be a deadly mistake! Kerosene tanks must also always be outdoors.
The Differences in Pricing
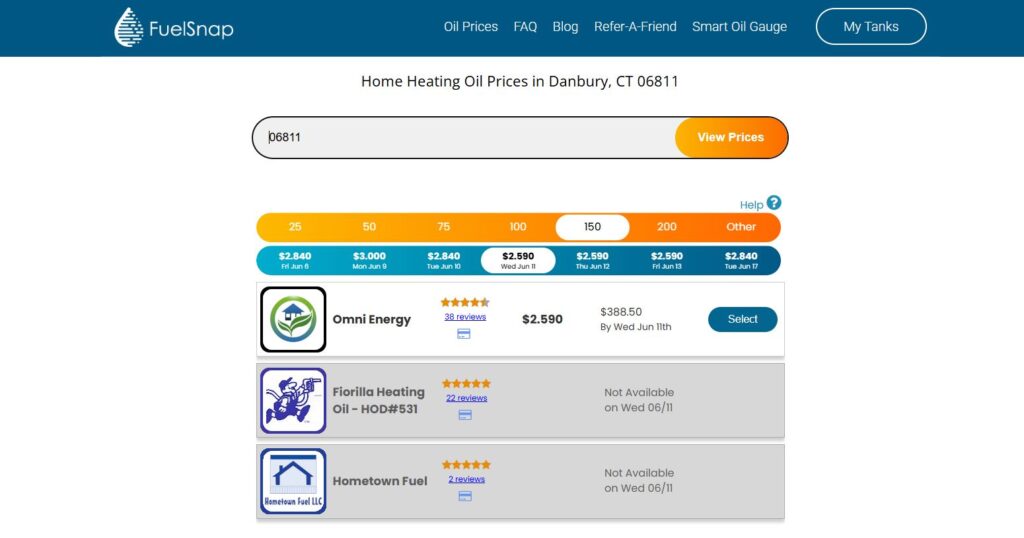
Prices on heating oil are changing constantly. There’s a lot of different factors as to why this is. But usually, it’s related to what the dealers get oil for at the pump. These play a major role in what dealers charge you per gallon. Supply and demand also plays a big role in this which is why you’ll often see heating oil costs at their highest during the winter and their lowest during the summer. But global crises also play an important role in what the price per gallon is. In 2020, Covid-19 had everyone locked down in their homes. This brought the price per gallon to an all-time low. You would see the price per gallon as low as a ONE DOLLAR! However, the opposite happened in 2022, when Russia invaded the Ukraine. During this time we stopped buying Russian oil, which made our oil prices skyrocket.
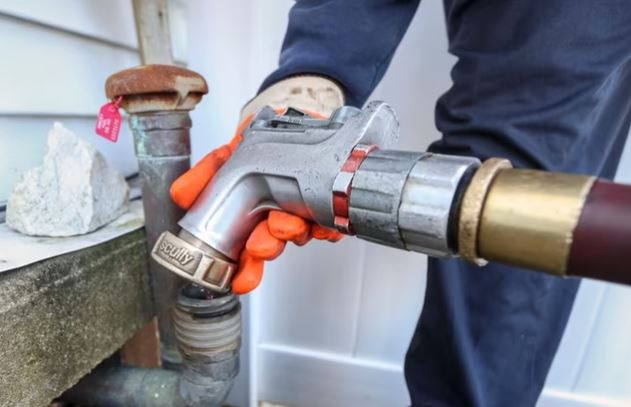
Additionally, heating oil tends to be much more competitive than kerosene is. This is due to the volume of dealers in your area. If there are more dealers in your area, then prices will tend to be lower. But if there are fewer dealers in your area, then prices will be higher. But regardless, this means that you’ll always have a dealer in your area that will be willing to deliver oil to your home! Using websites like FuelSnap, will help you get the cheapest price available to you!
However, kerosene is a bit different. The price for kerosene is dependent on a variety of different factors, similar to heating oil. Kerosene also tends to be harder to find, and is often pricier than heating oil. This is because not all dealers will offer kerosene. It’s also very constricting. If you manage to find a dealer that offers kerosene, then you might not get another option in the future. Because of this, you’ll have to stick with that dealer moving forward.
Which is the Better Option?
Without question, heating oil is the better option of the two. It’s safe and easy to come by, which makes it easier to order. It’s higher flashpoint makes the likelihood of an explosion or fire impossible. With it’s liquid state being non-flammable, you don’t have to worry about any risk in your home! You can even drop a lit match into a bucket of heating oil and it will extinguish! But, don’t try that at home because heating oil is smelly!
Kerosene does have it’s benefits, but it’s generally not as safe as heating oil. It’s lower flashpoint makes the possibility of fire or explosion more likley than with heating oil. I would definitely loose precious sleep with the fear of that happening! Plus, it’s lack if availability makes it hard to obtain and can often result in higher pricing. Finally, the added fact that it can produces carbon monoxide makes it less than appealing.
Happy Heating,
Hunter